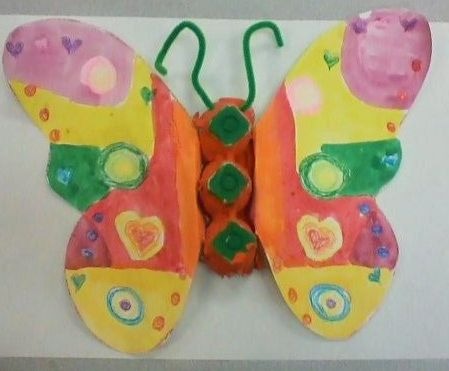
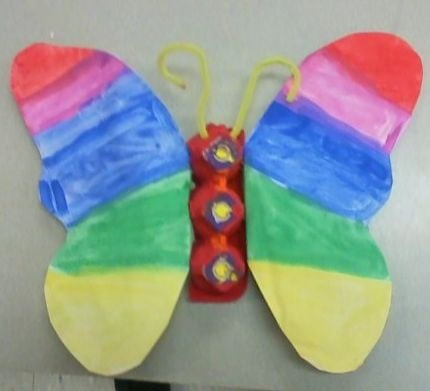
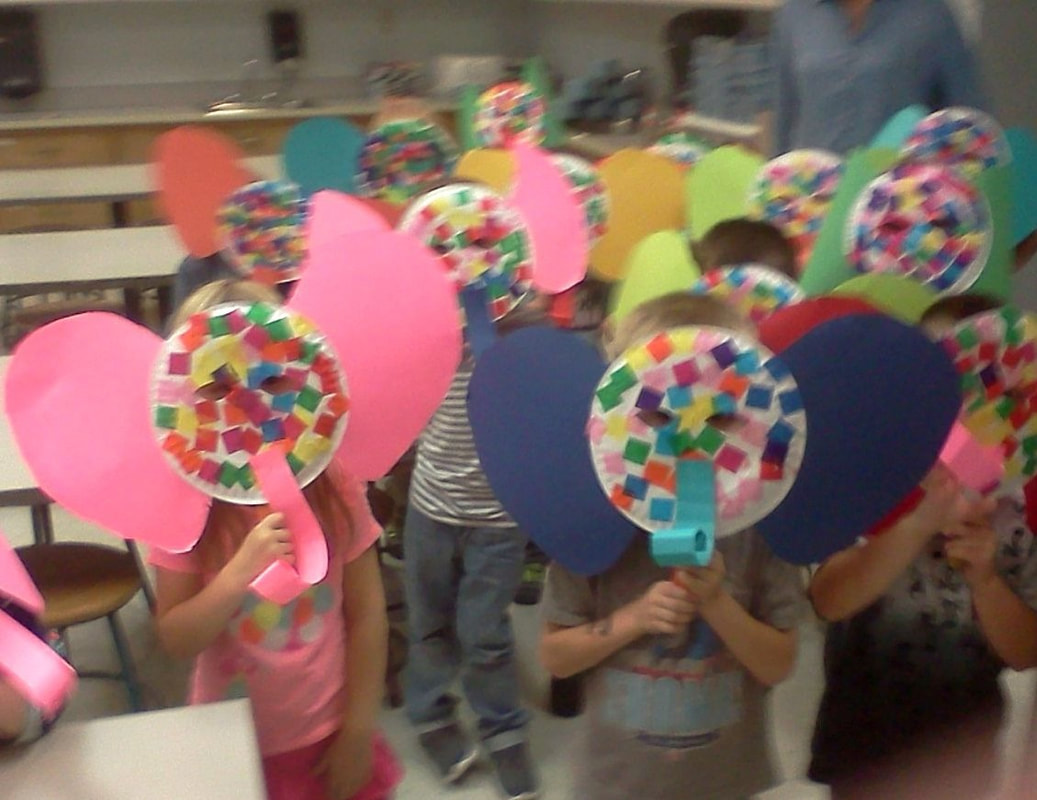
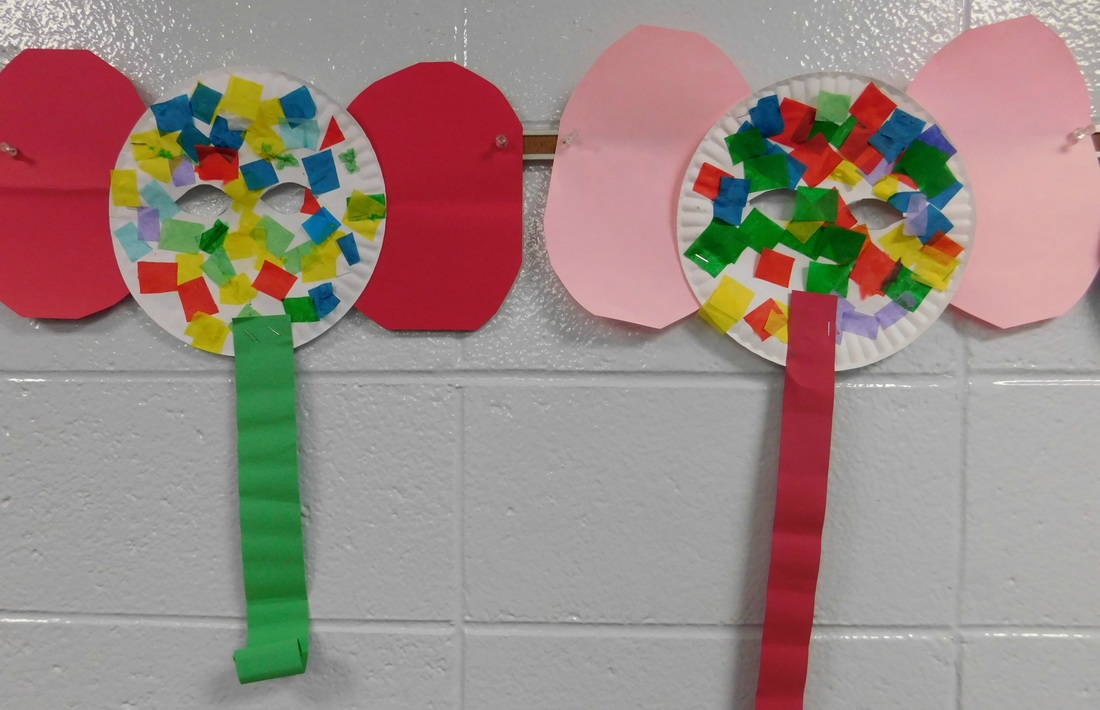
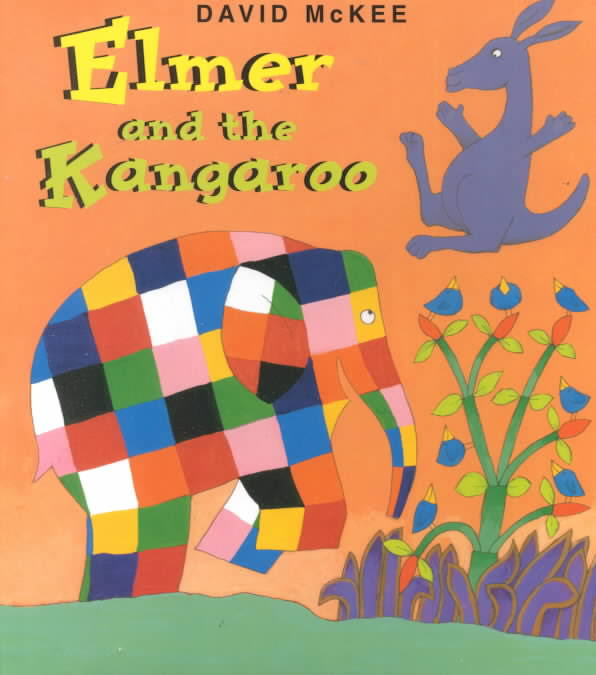
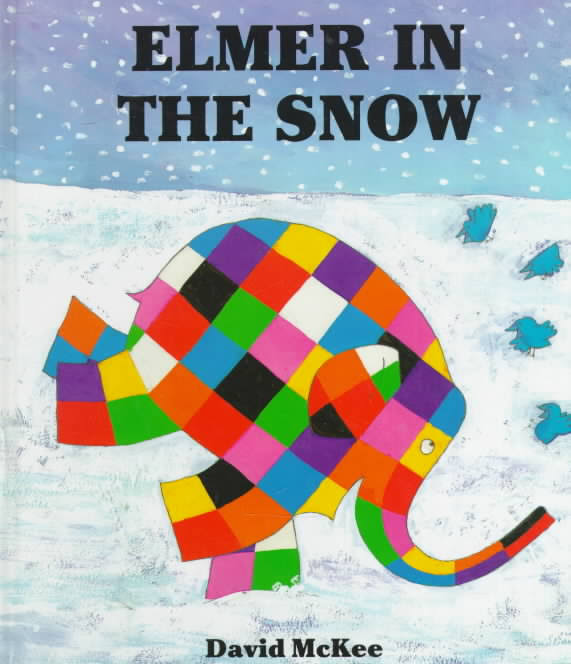
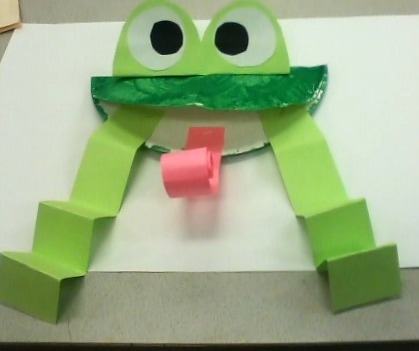
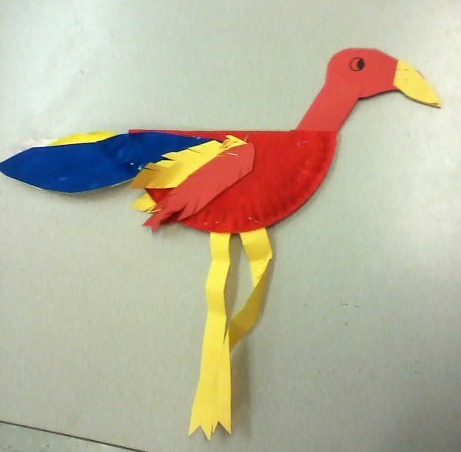
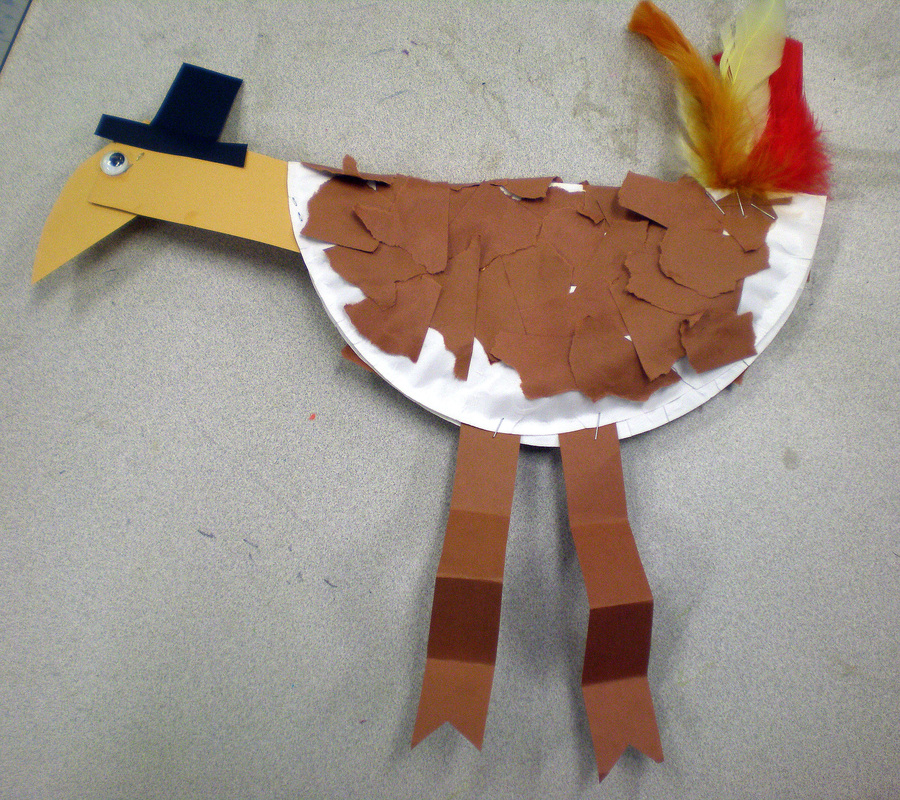
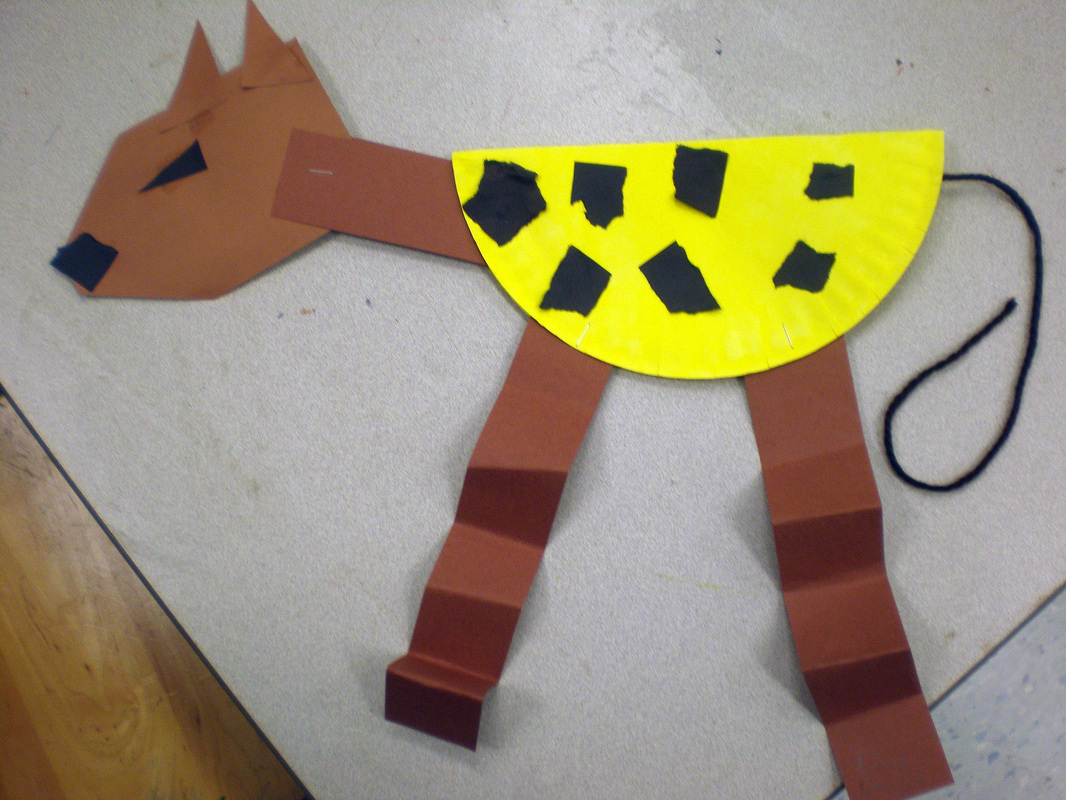
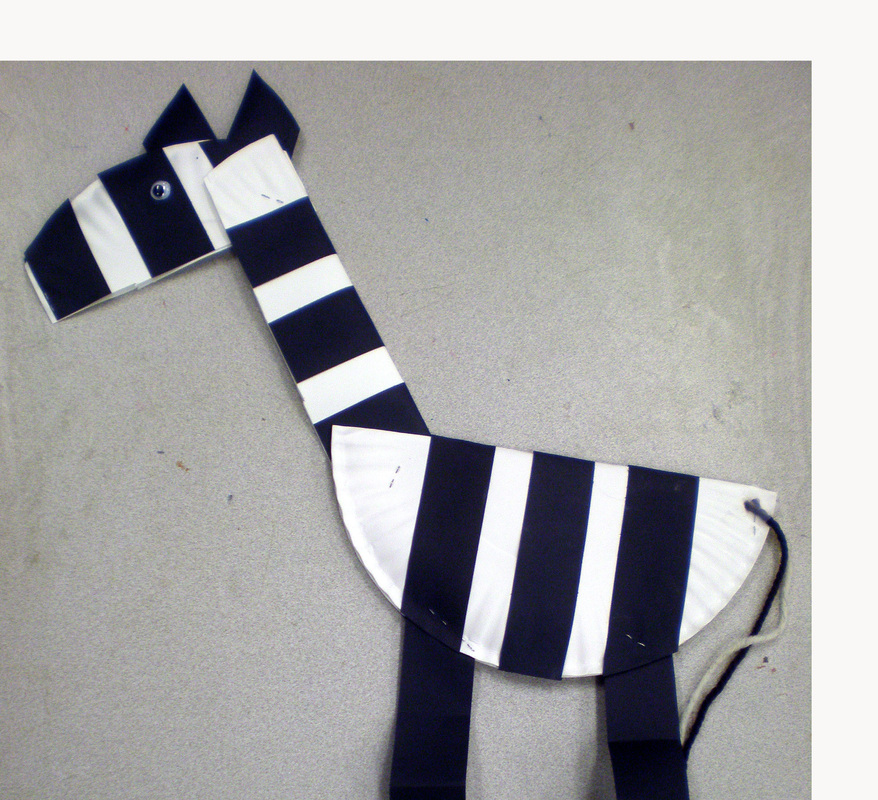
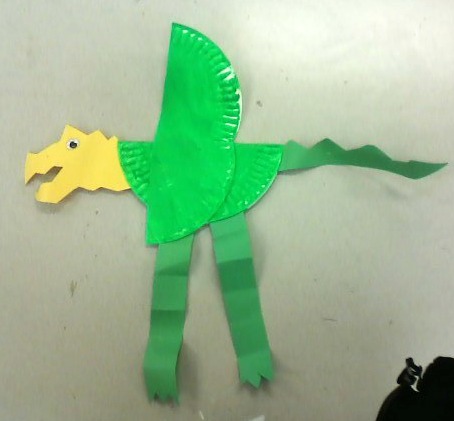
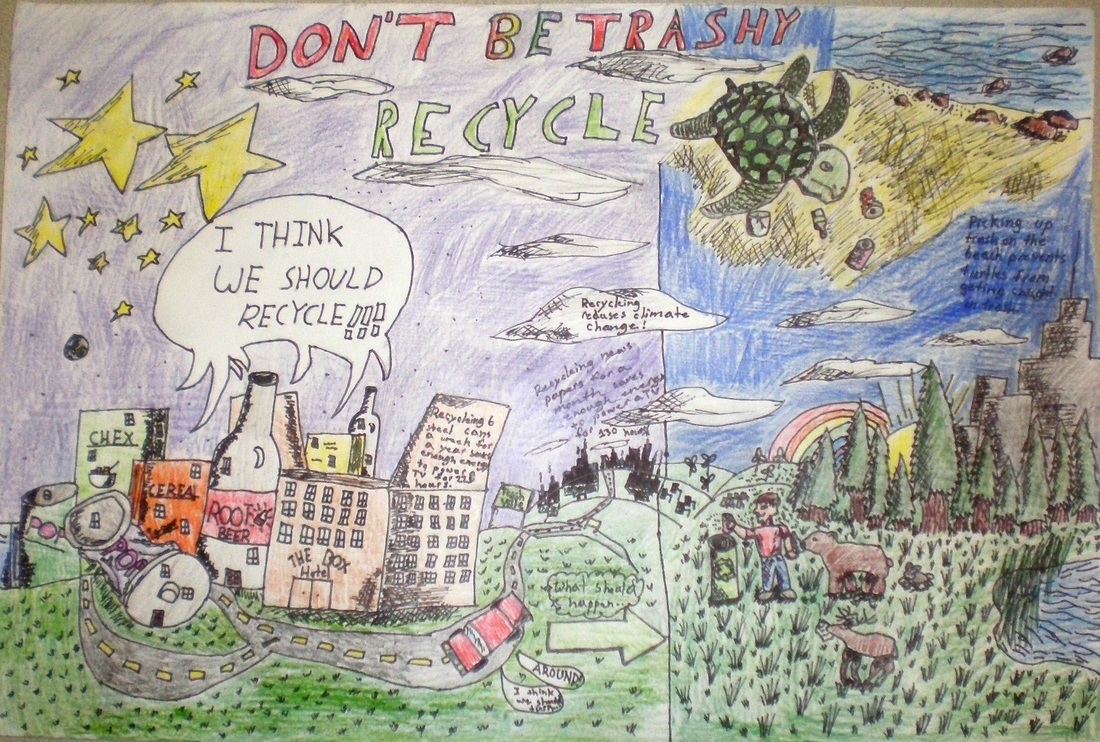
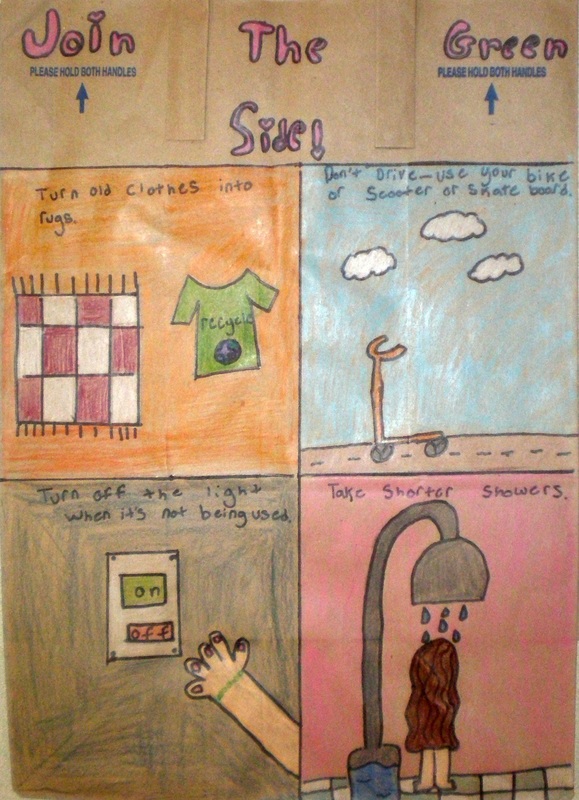
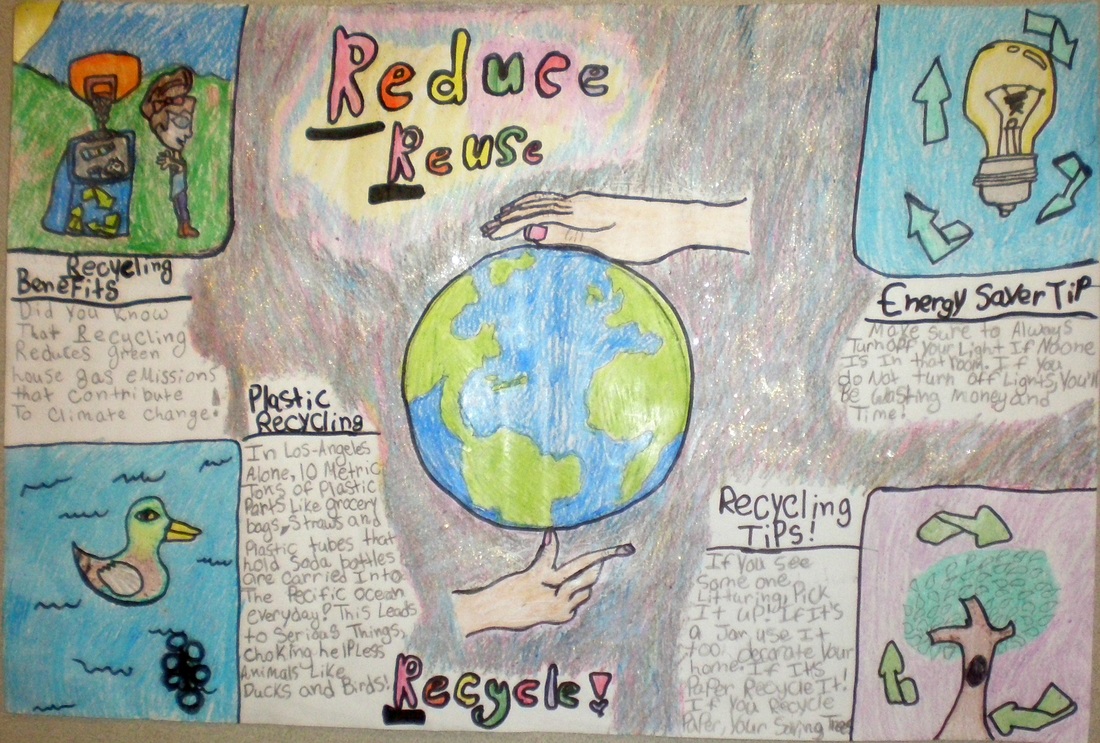
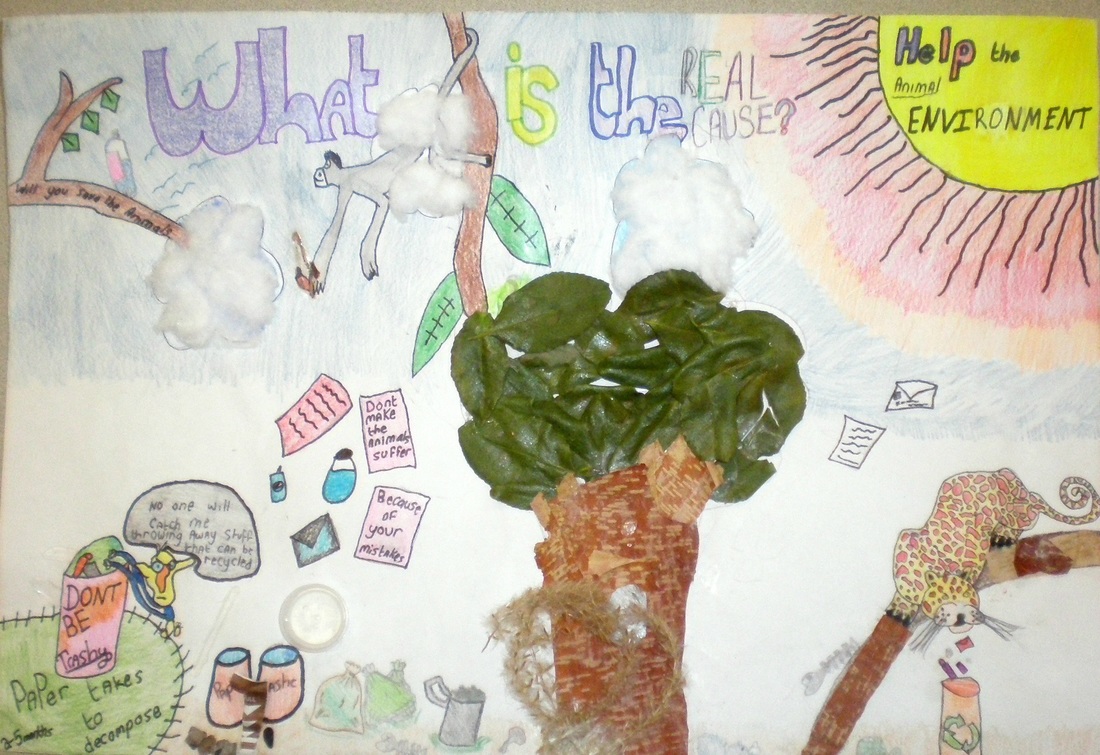
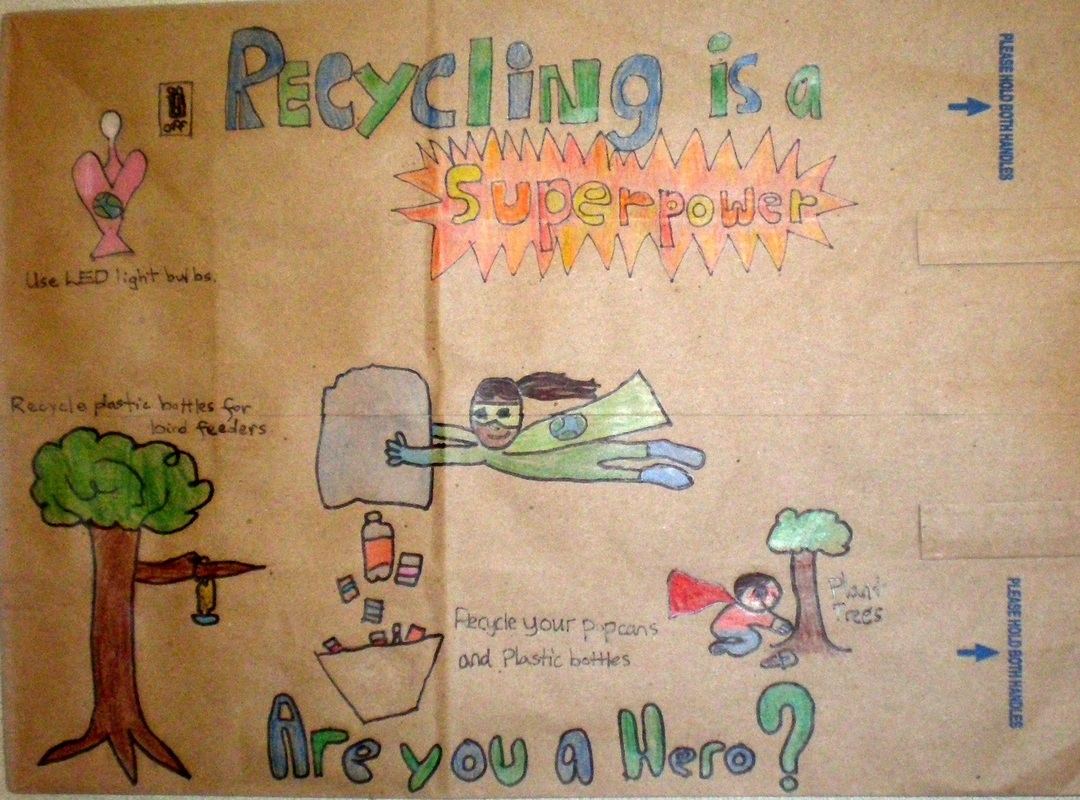
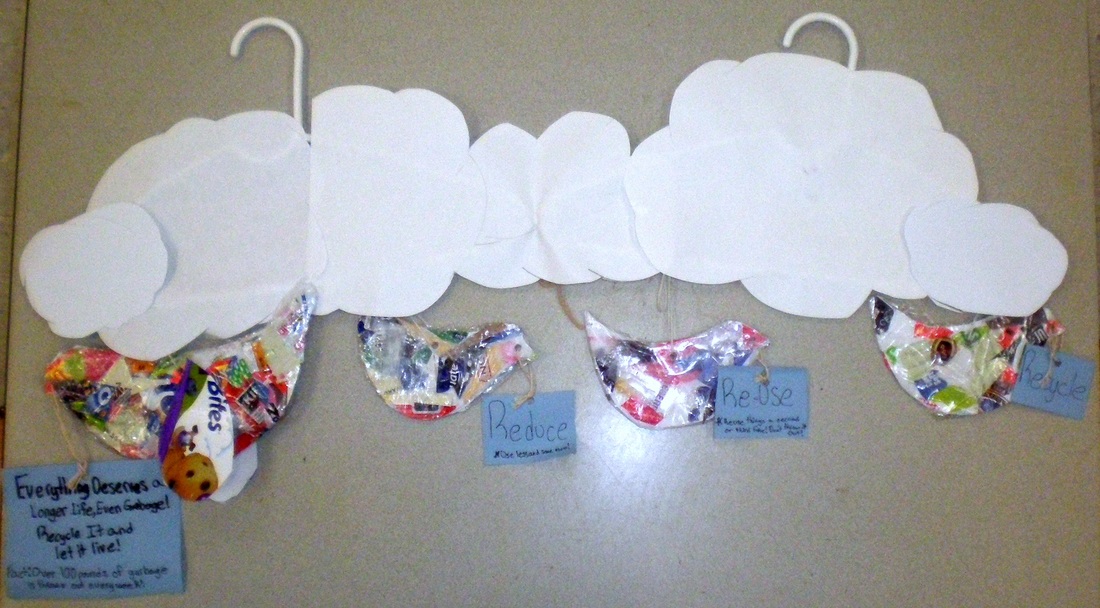
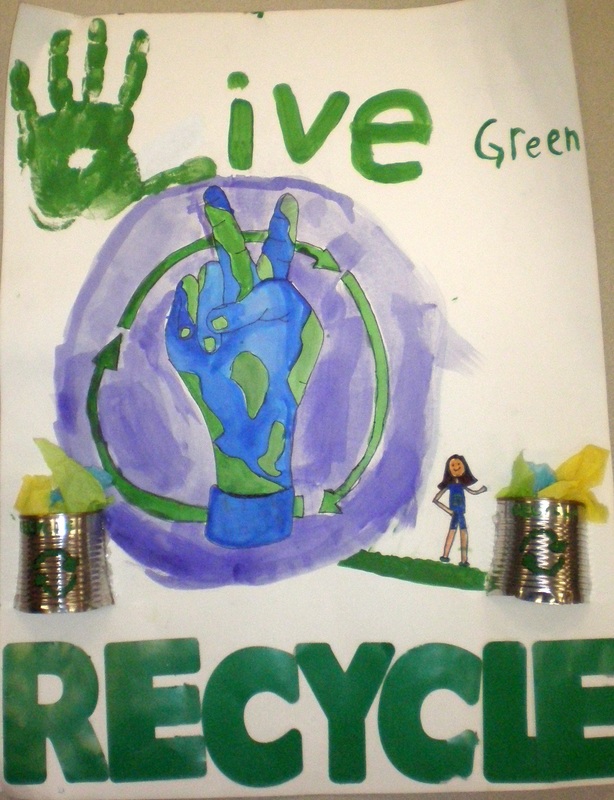
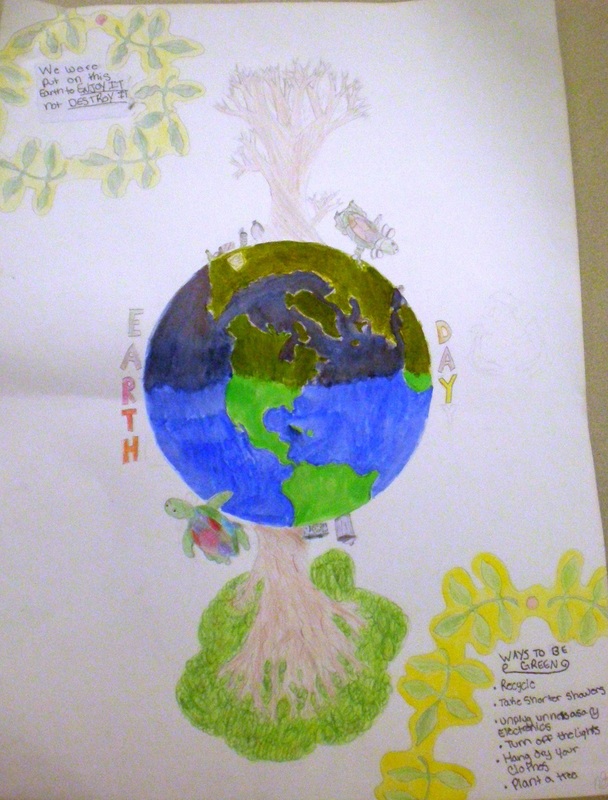
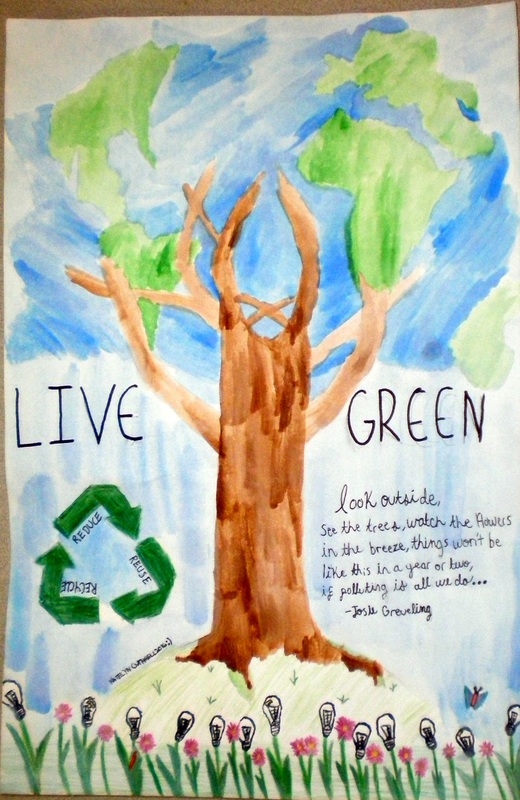
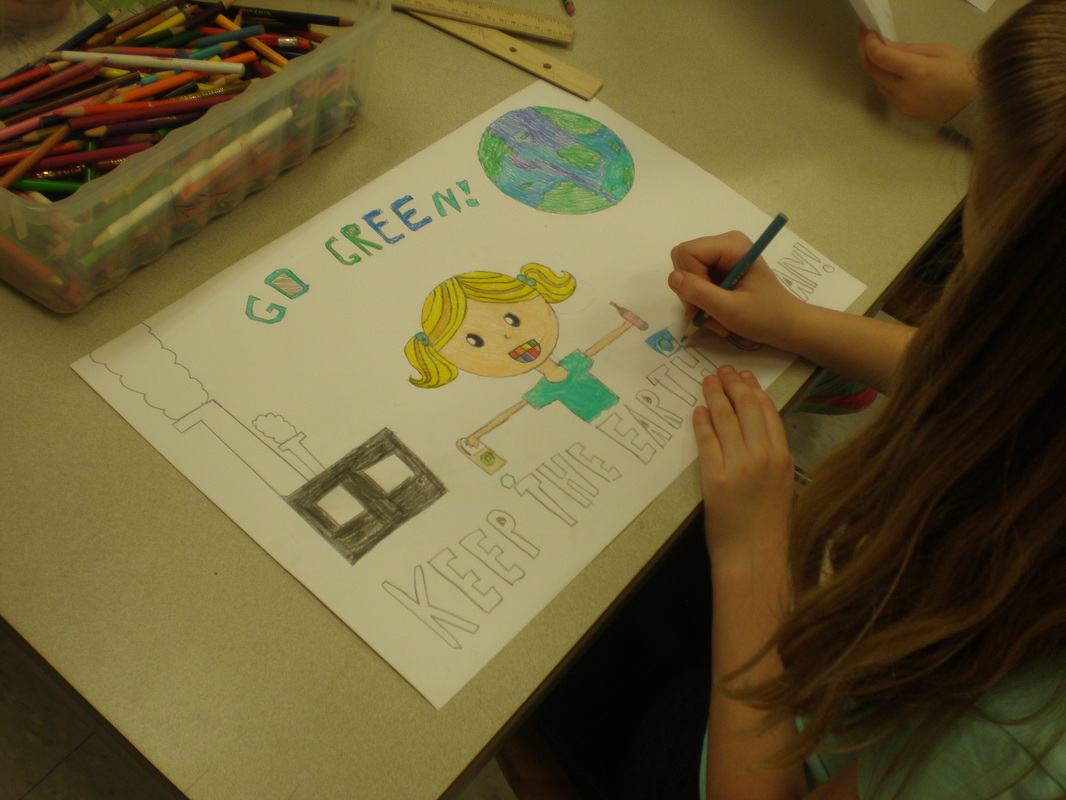
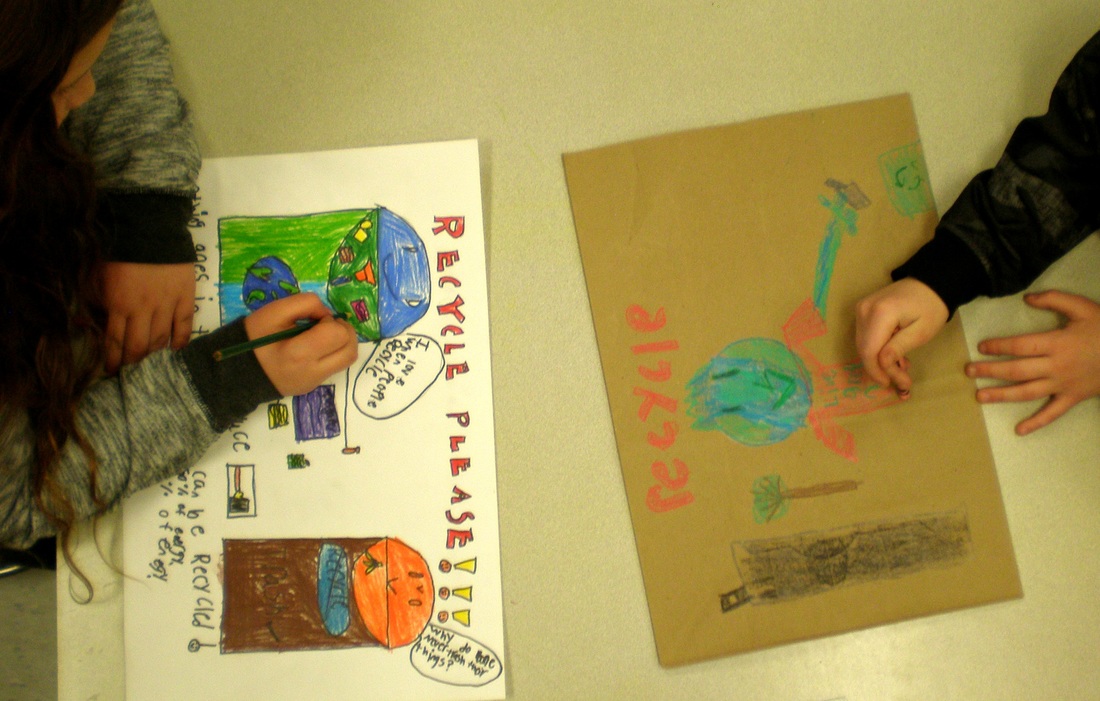
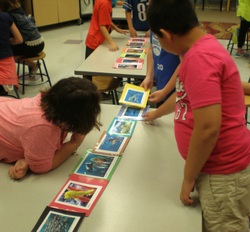
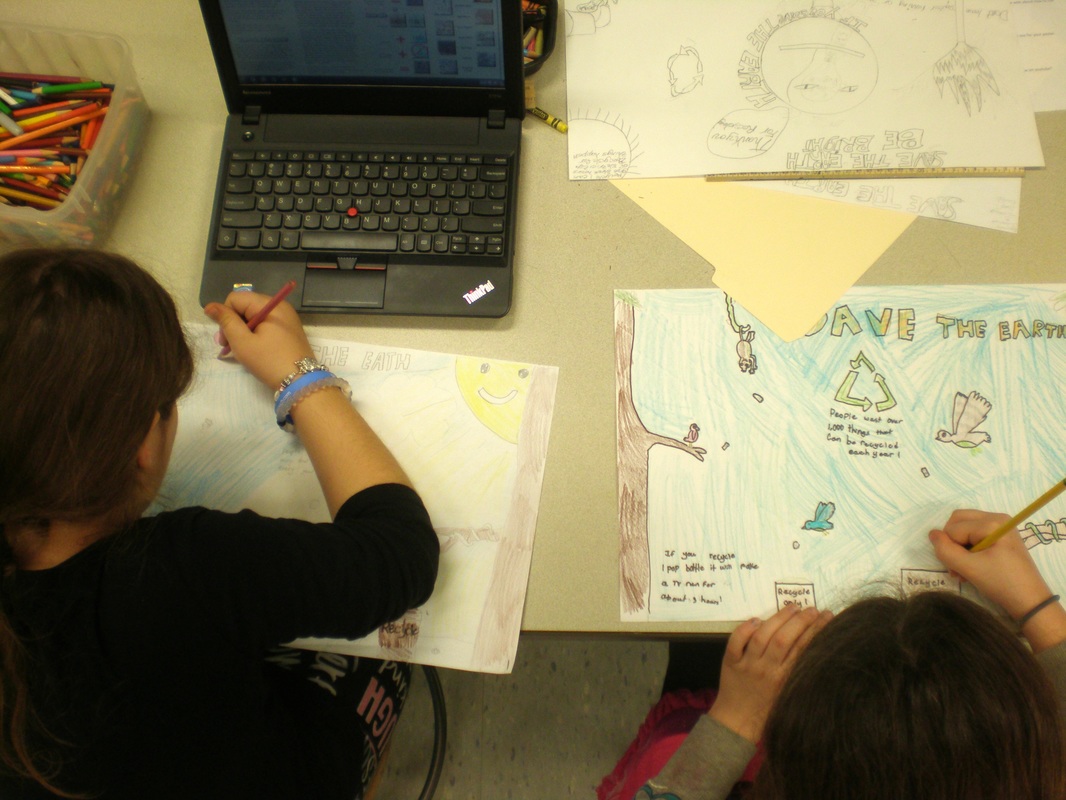
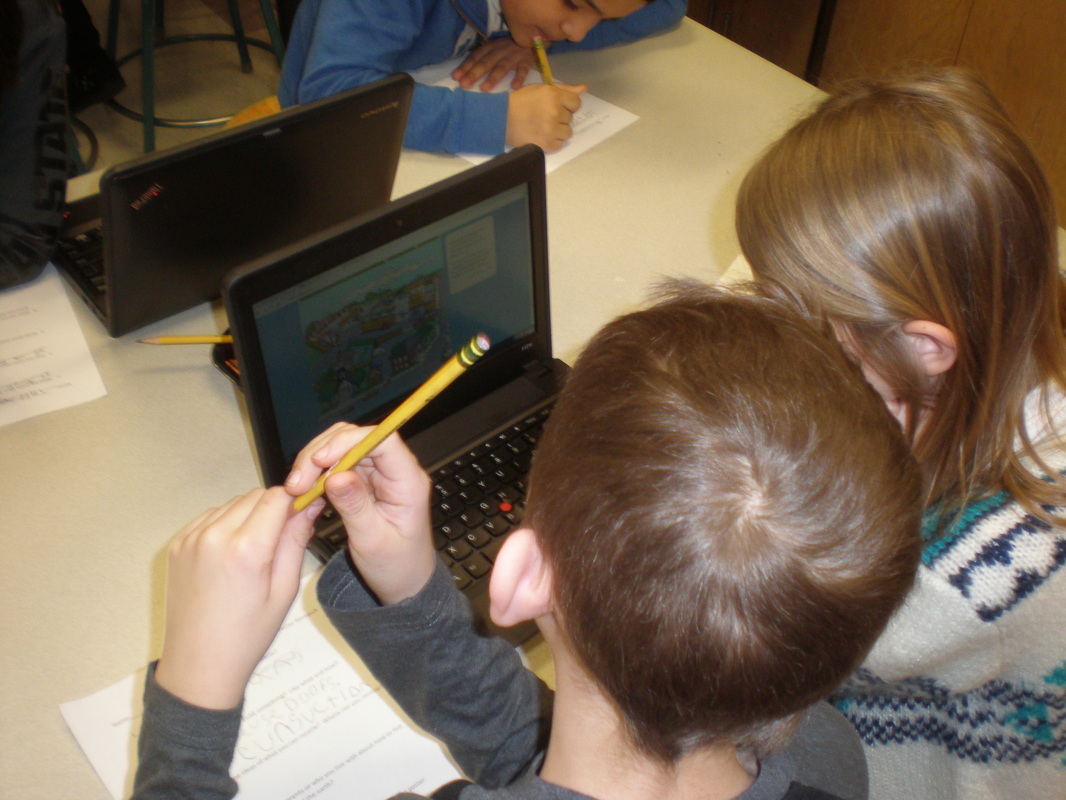
  Springtime! Time to learn about the life cycle of butterflies. Time too for a 3D integrated art and science project using recycled cardboard egg cartons to make butterflies. The lifecycle of a butterfly is fascinating... how they grow from an egg to a caterpillar to a chrysalis (a hard outer casing for the developing pupa) and then into a butterfly. Throughout the years, Oxbow's first grade teachers have purchased chrysalis so students can watch the transformation and enjoy the butterflies emerging and stretching their wings. In my art class (and in your home) you can create your own beautiful butterfly. First recall that butterflies are symmetrical (the same on both sides). Also, each different type is different with different patterns and colors. I recommend using watercolor for the wings, but tempera will also work and adheres to the egg carton more readily. Have your child fold white construction paper and draw the wings of their butterfly and cut them out. Lay the wings on newspaper and paint them so that each wing mirrors the other with color and patterns. Next, cut the egg carton into a "body" with three segments, and paint them and set to dry. Once dry, take a pencil and poke a hole on either side of one end of the "head" in the cardboard. Then pull through a pipe cleaner that can be bent into antennae. Staple the wings onto either side. Beautiful!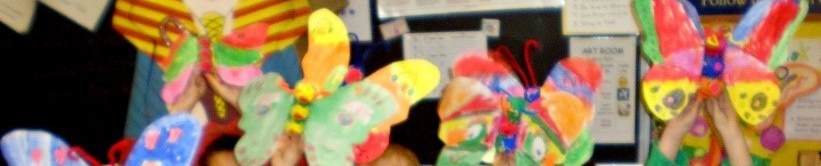 Kindergarten and Junior Kindergartners listened to different books in the Elmer the Elephant series: Elmer the Elephant, Elmer in the Snow and Elmer and the Kangaroo by David McKee. I use these books to reinforce ideas such as kindness, encouragement and sharing. After talking about the story, students layered tissues paper squares onto a paper plate to mimic Elmer's patchwork skin. Next they added colorful ears and a rolled up trunk. We reviewed how to safely staple to protect little fingers. Wearing their masks, each child left eager to see the world through Elmer's eyes. Masks are always a hit! 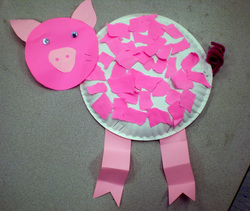 Kindy and Special Ed. Lesson I teach art to cognitively impaired students as well as kindergartners at one of my schools. Making paper plate animals (or flowers) is a favorite and engaging lesson that works well to strengthen fine motor skills for our variously-abled young students. First, my students either paint the paper plate or tear paper and glue it all over the plate, depending on the animal. Next, they fold "bouncy" legs and cut toes and staple onto the plate. I teach my kindergartners the safe use of a stapler by demonstrating how to press down on the stapler using open, spread out fingers so there is no chance for fingers to curl under it and get hurt. Finally, we add the head, details like ears, nose, a curly cue tail from pipe cleaners, yarn hair, feathers, tail, googly eyes, etc. For colorful birds, fold the plate in half, glue on sequins and add feathers. The possibilities are endless! 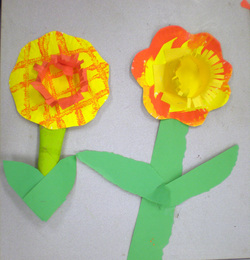 Paper Plate Flowers: Kindy, Special Ed CCS.LS1.A: Structure and Function of Plants (and classification) Another fun way to use paper plates and paper towel tubes is to create spring flowers such as daffodils. Week one the children painted the paper towel tubes green then set them to dry. Next they painted the paper plates yellow and went to the blow dryers to get them somewhat if not totally dry. [Note: I teach all my students how to use a blow dryer by demonstrating how to use them (hold a few inches from the object to dry, gently waving it back and forth, using a low setting) and how not to (blow drying hair, a friend or holding it too close to the paper), followed by how to do it correctly again. "If you want a behavior you have to teach a behavior."] Finally, they come to new station (the back counter or a separate table) where I supervise them in dipping the wheels of a toy truck or car into orange paint and rolling across their plate. Alternatively, with kindy we just finger print on the orange with little fingers dipped in orange tempera (not too much!). They then set this to dry in the drying rack. Week two students tear out green paper leaves and glue them to the paper towel tube. Next they cut around their paper plate in a wavy fashion (don't cut off too much I remind them). Now for the corona (yes, we learn some basic parts of the flower such as leaves, stem, petals, corona): I precut strips of yellow or orange paper and on one side I precut five small evenly spaced cuts. I show students how to cut fringe on the other side and how to fold open the five slits and bend them. Then the students glue the folded five edges onto the middle of the paper plate. Another fun easy way to make the corona is to paint precut sections of cardboard egg cartons during week one so they dry thoroughly. Then glue these on for the corona. The final step is to glue the flower onto the stem. Meanwhile, parent volunteers and I go around helping as needed. 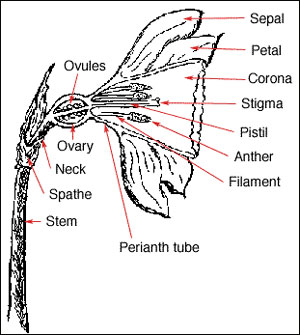 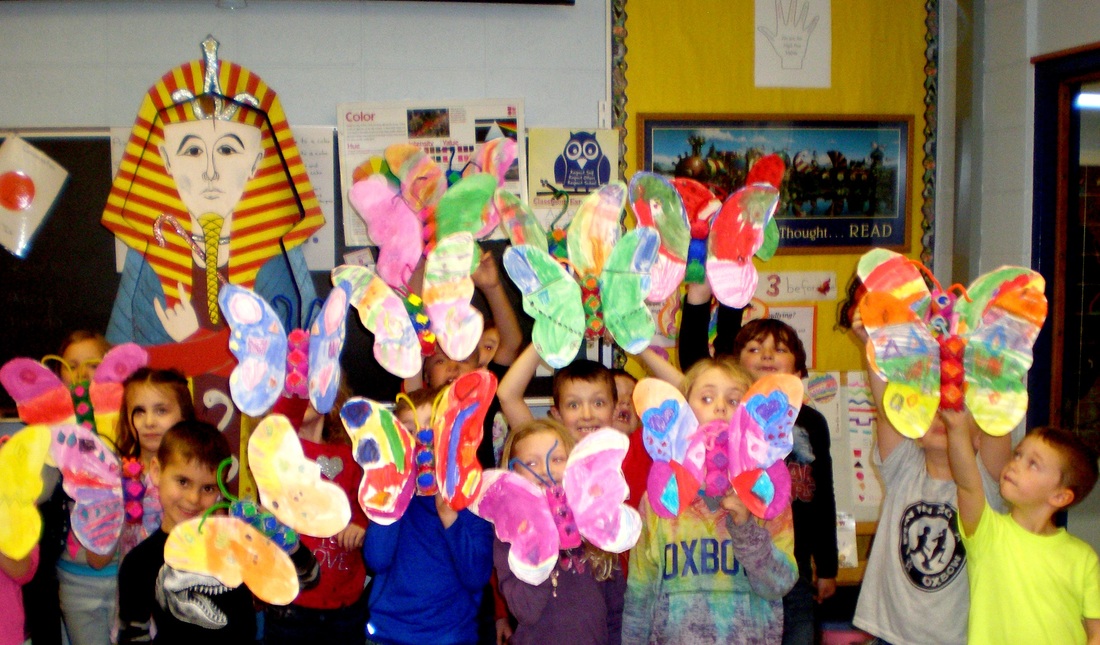 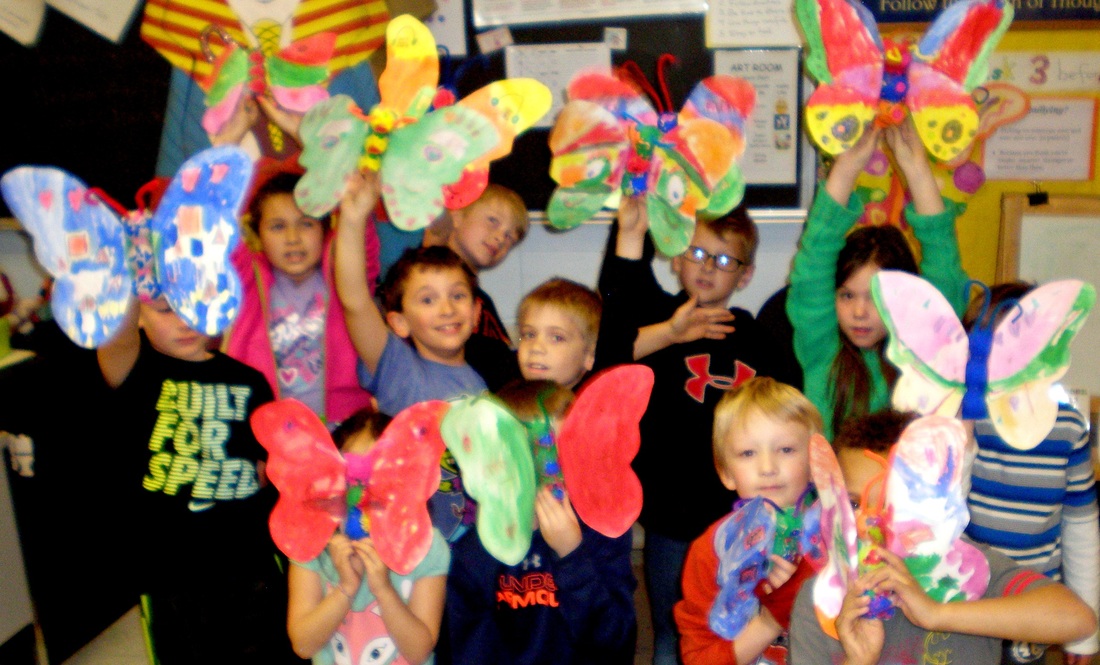 Springtime! Time for first graders to study the life cycle of butterflies. Time too for a fun art project using recycled cardboard egg cartons to make butterflies. Our first grade teachers ordered a set of real chrysalis (a hard outer casing for the developing pupa) and put them inside protective netting in the classroom. Then each class learned about metamorphosis which, for a butterfly has four stages: egg, larva (caterpillar), pupa (chrysalis) and adult butterfly. Students eagerly watched for signs of development over the following weeks. In art class, we learned that butterflies wings are symmetrical (the same on both sides). We studied a variety of different types noticing the details and differences. Then first graders designed and painted the segmented body and wings. Wings were assembled and colorful antennae added the final touch. Lovely! 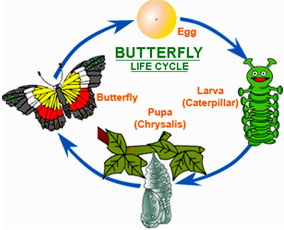 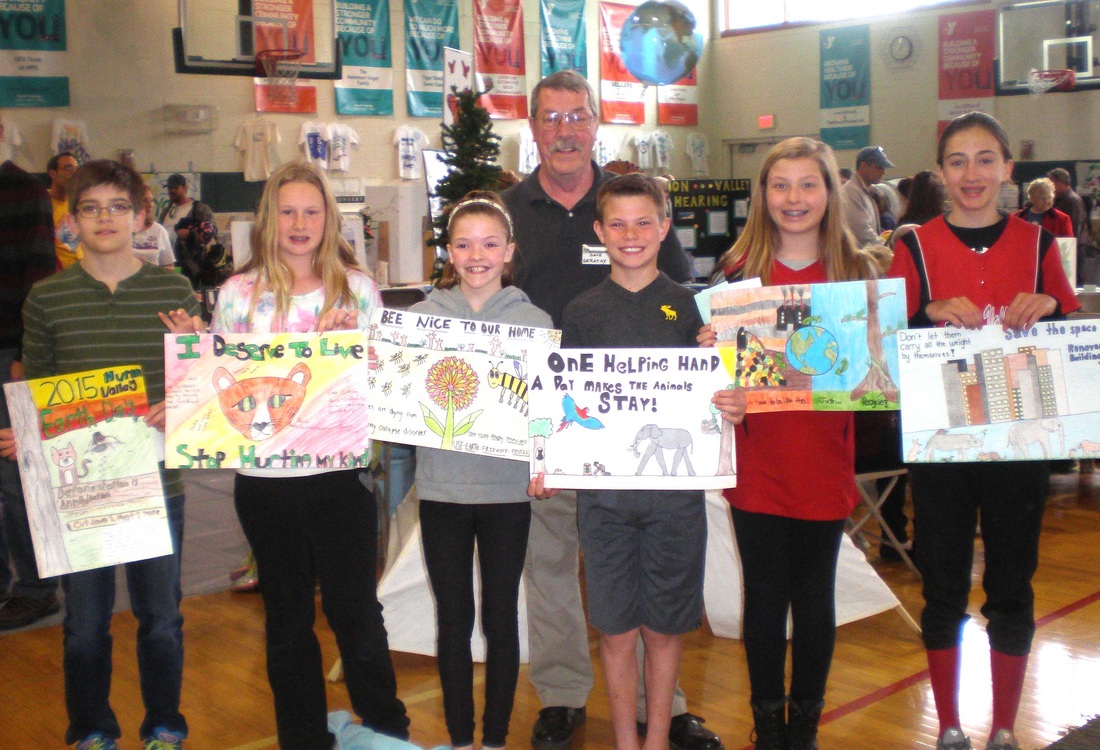 2015 Poster Contest Winners One of my goals as an elementary art teacher has always been to teach our children how to be better stewards of the earth. As a board member of the Highland Conservancy, I create the theme for our annual Huron Valley earth day poster contest. Last year's theme focused on endangered animals - what can we do to save an animal's habitat, how can we help save animals from extinction by protecting or restoring their homes? This year, it was time to focus on a new environmental issue. Since our district has a number of teams that compete in the First Lego League competition, I decided to tie into their Trash Trek theme. The fifth grade and middle school teams had already done a great deal of research on recycling trash and living the 3R's so it was a perfect fit! At Oxbow and Highland Elementary, we kicked this unit off with internet research focusing on how to LIVE GREEN through the 3R's: Reduce, Reuse, Recycle. Using guiding questions, upper el students went on a Webquest where they visited a recycling plant to see how items are recycled and how things like plastic are turned back into containers or toys. Then we brainstormed how to reuse everything from paper to plastic bottles, to toys, clothing and even composting food. Students came up with ideas on how they can make a difference such as by turning out the lights, walking instead of driving, composting lunchroom food, or shutting off the car while waiting in the parent pick-up line. Finally they created a poster with a slogan, facts and their idea on how to live green. The posters were judged by the Highland Conservancy Board and the cash prizes will be awarded to the winners at 1:30pm at the annual earth day celebration at Carls Family YMCA Sunday, April 24, 2015 (it runs from noon to 4 pm). I am proud at the depth of learning of all of our students. They often surprise me with their creative solutions for positive change! Winners for the Elementary Division are: First Place: Nicodemus Williams/Highland El., Second Place: Makayla Cope/Oxbow El., Third Place: Aaliyah Kinsey/Oxbow El., Two Fourth Place Winners Tied: Madison Thompson/Highland El. and Keira Thomas/Highland El. Winners for the Middle School Division are: First Place: Marian Shaver, Second Place: Madeline Rende, Third Place: Nicole Graham, Fourth Place: Katelyn Cuthrell - all from White Lake Middle School. Congratulations to all the awesomely creative winners!
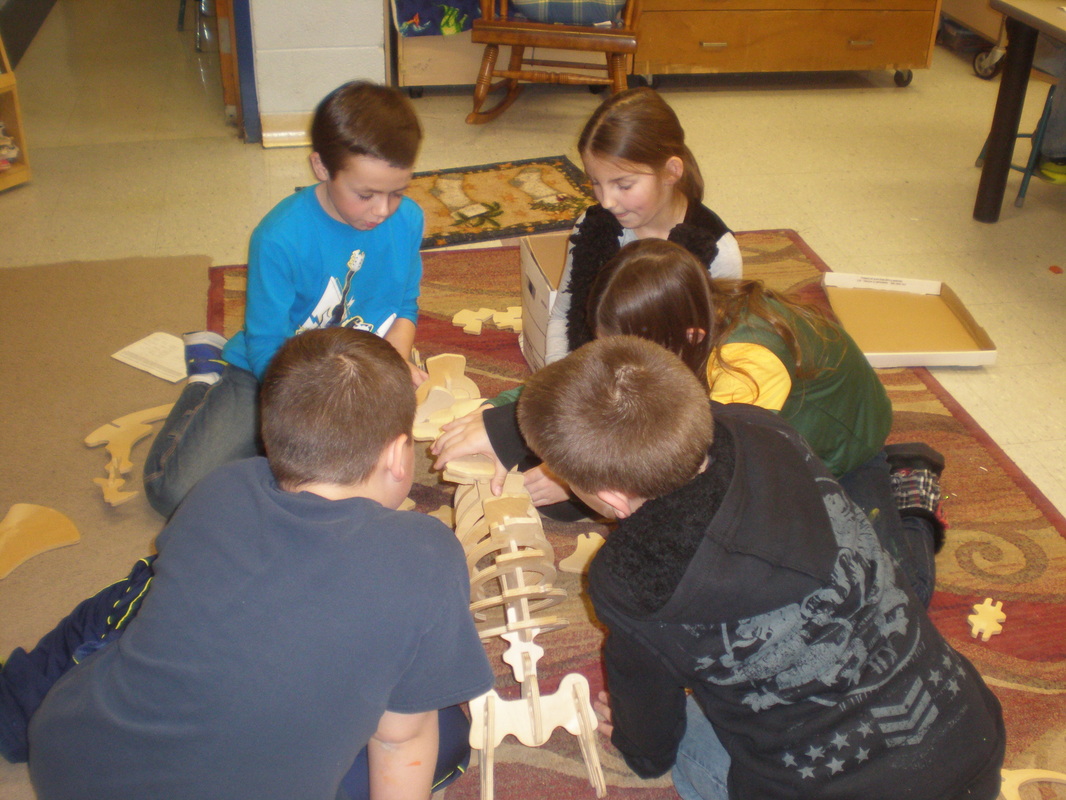
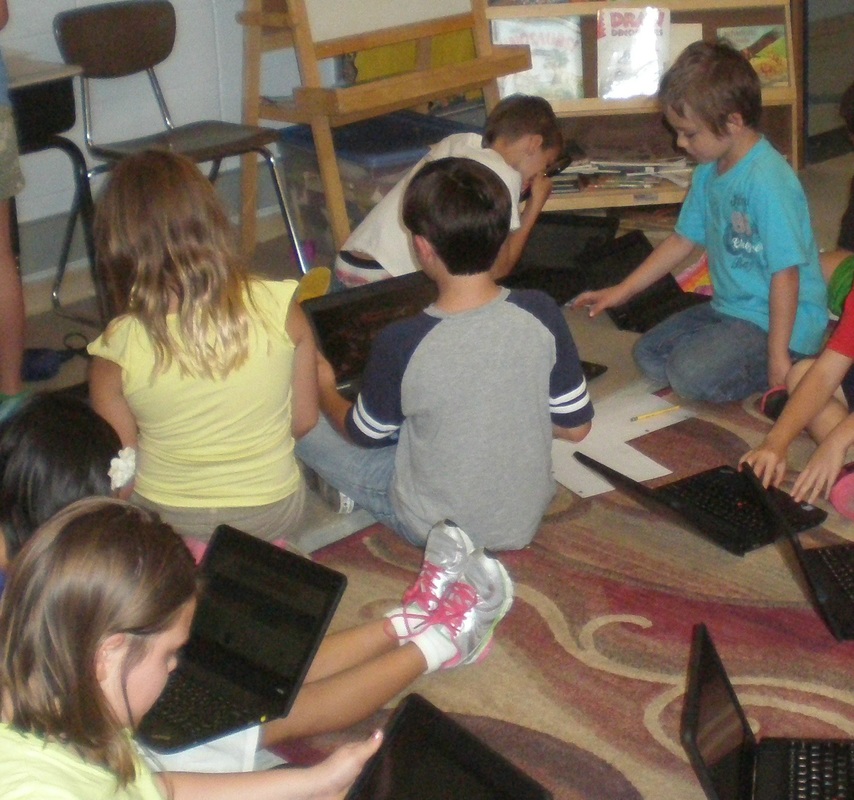
What a thrill it is to see my students investigate different science issues and topics in art. It is easy to dismiss art as merely a "special" whereas, in my opinion, art can be taken to a much deeper level. I make an effort each year to find a variety of ways to integrate technology and science, social studies and language arts with the art curriculum. Sometimes this means creating fun games such as Habits and Habitats picture cards the students use to try to match what creature goes with which habitat, or what eyes belong to what kind of animal? This encourages my students to use their investigative habits such as observing scales, feathers, hair or other characteristics that will give a hint to the animal's environment. Each year, we also use Webquests where students are guided to complete a variety of steps on different websites that then culminates in a final art activity and often a research report. What an excellent way to take science or social studies learning to a deeper level. DONORS CHOOSE INTEGRATED SCIENCE PROJECT - Habits and Habitats - Classifying Earth's Animals3/31/2016  This project has been fully funded! Thank you to all our wonderful donors. The students were delighted to see all the wonderful art supplies we now have! We will begin this Habits and Habitat's unit as soon as our mummy unit is finished. Can't wait!
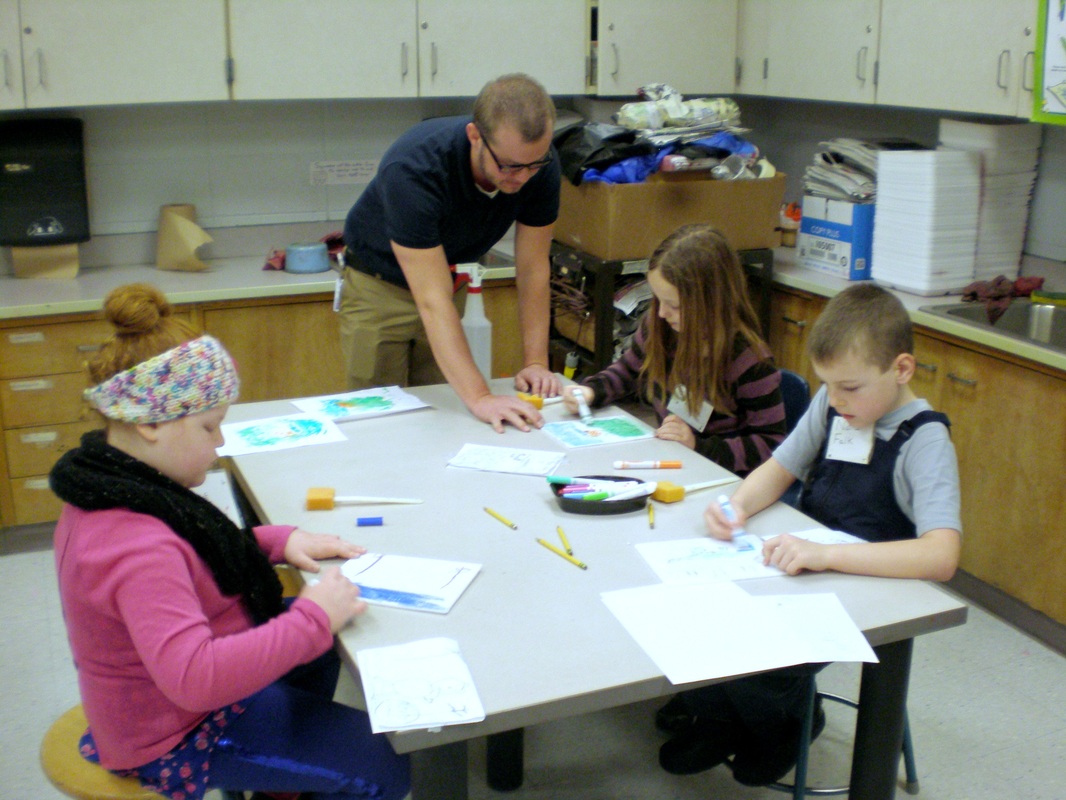
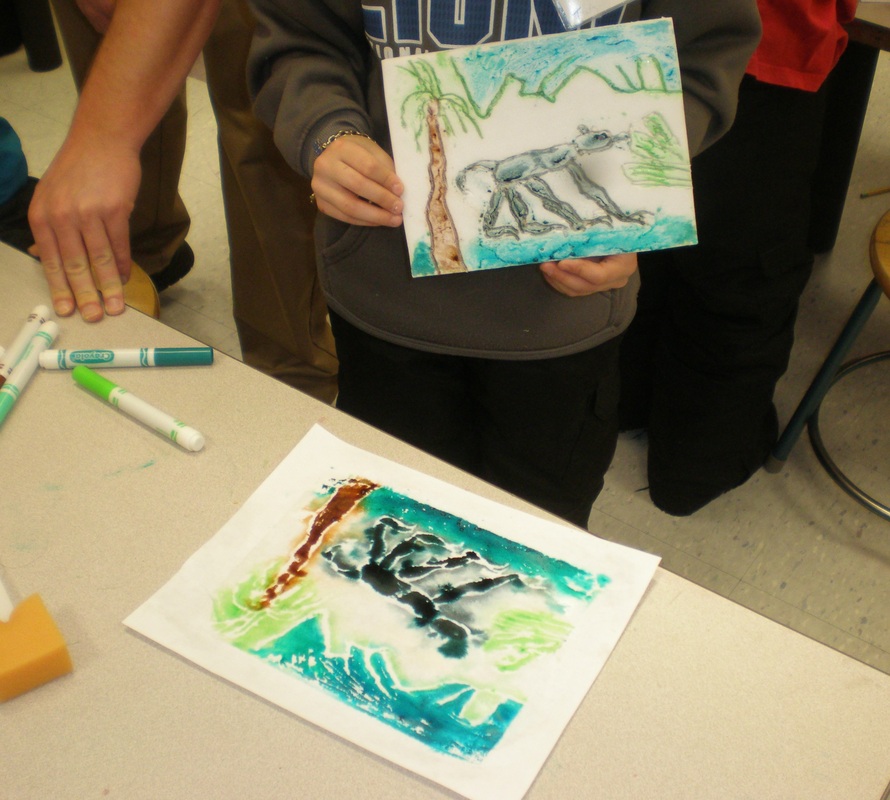
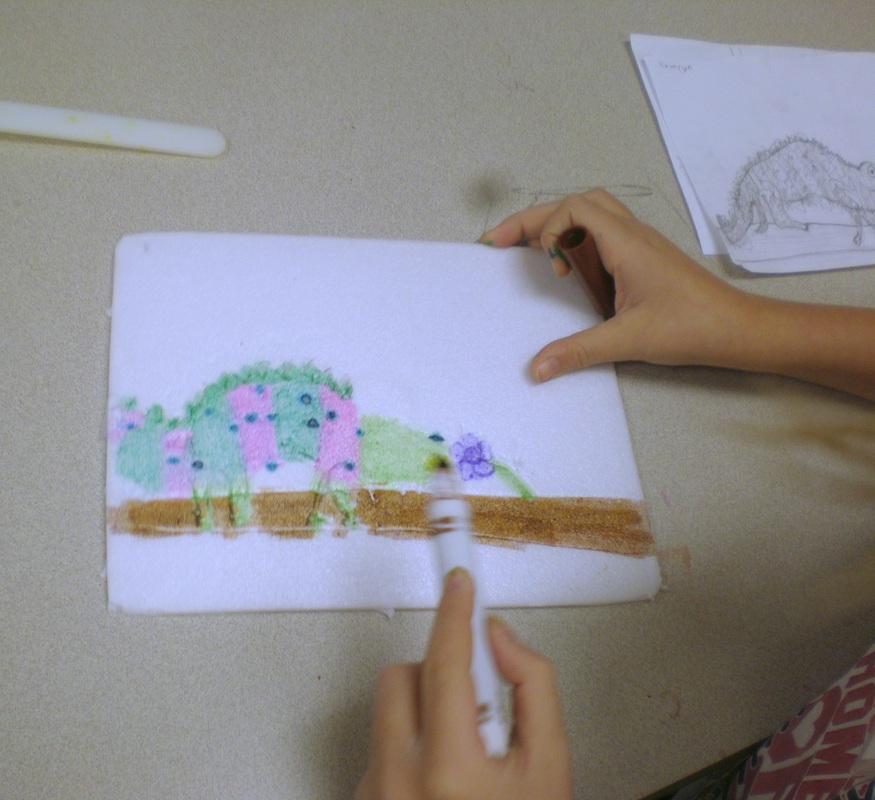
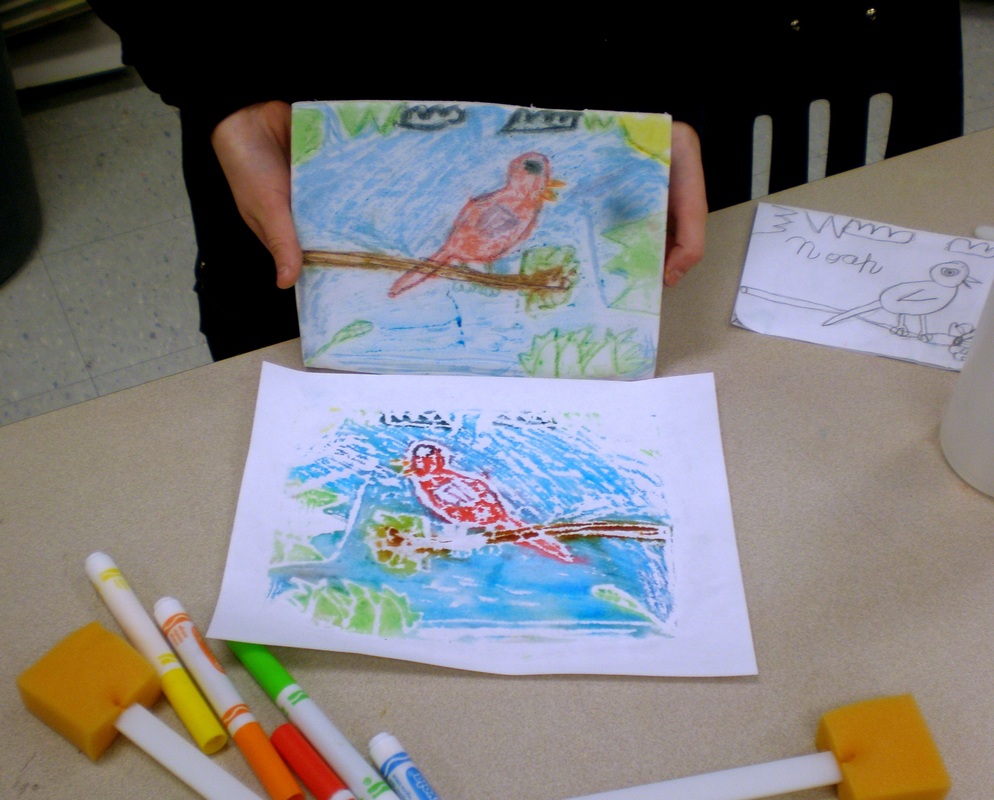
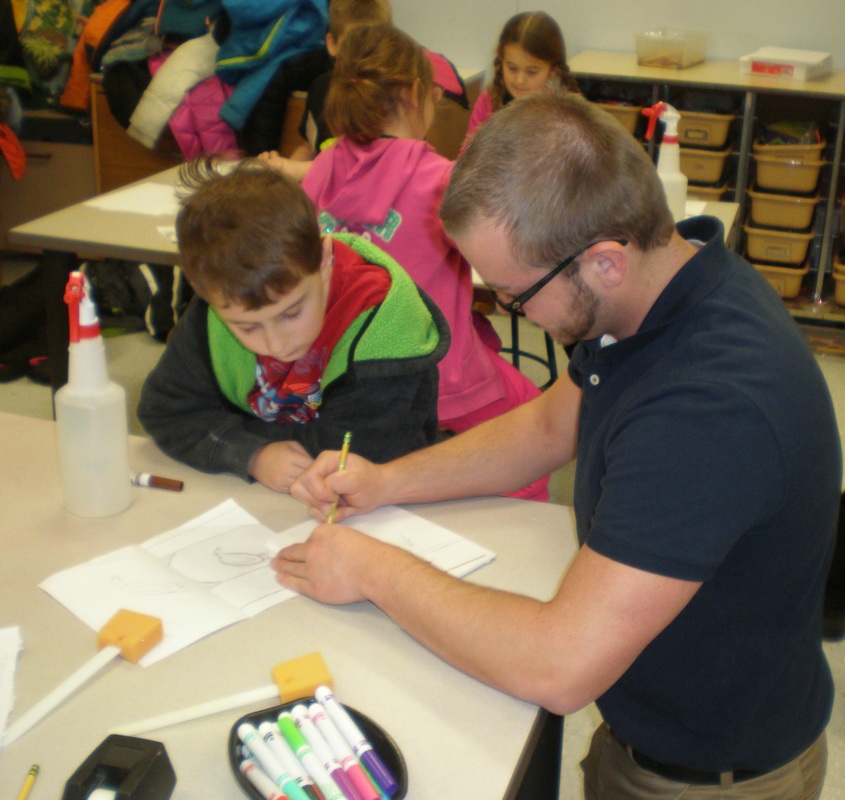
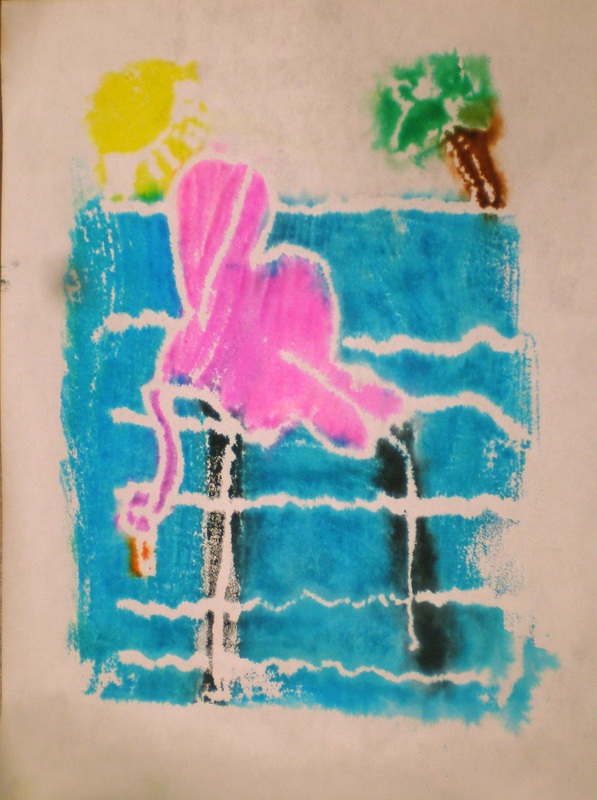
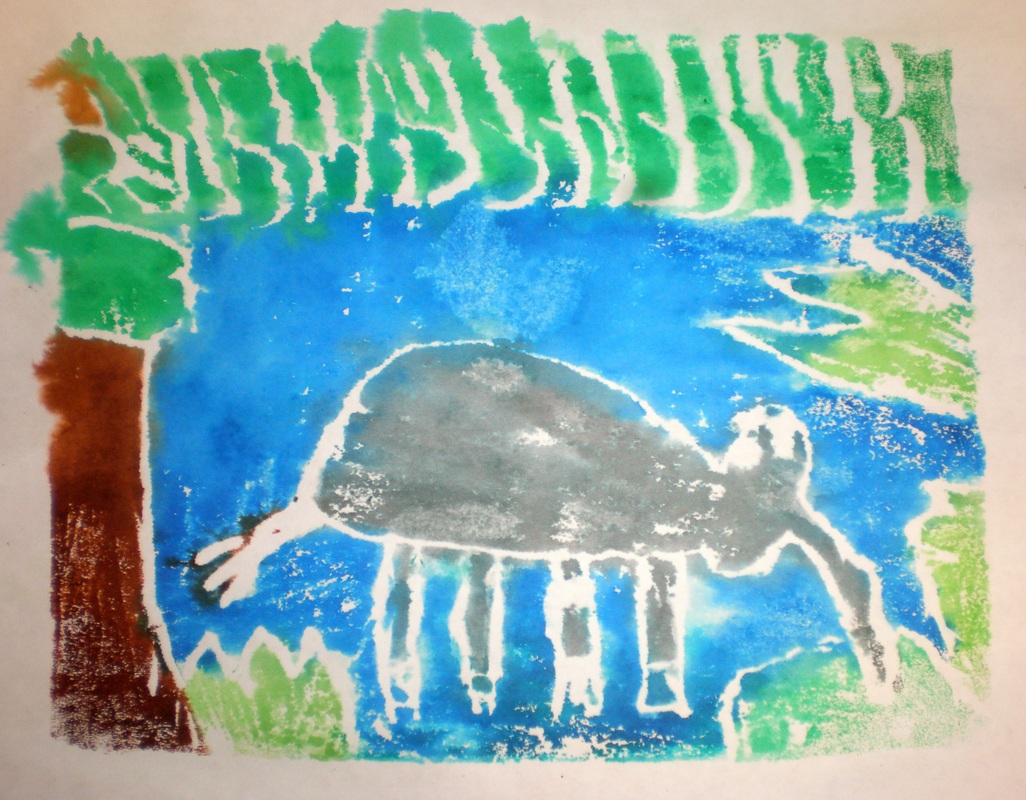
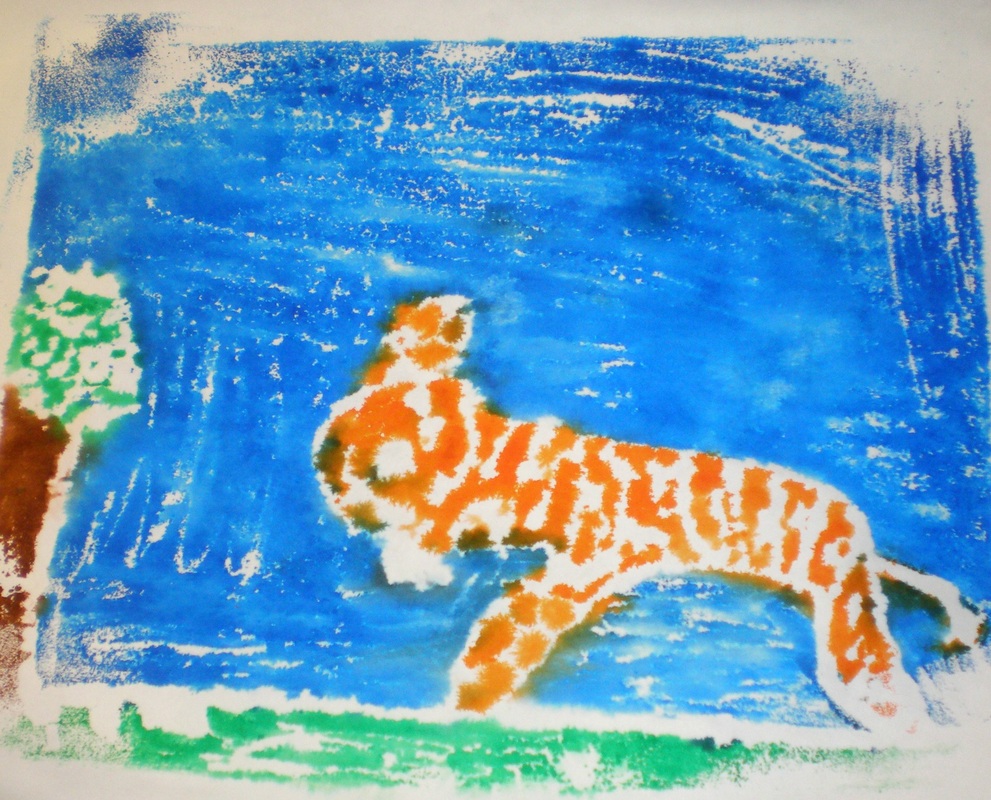
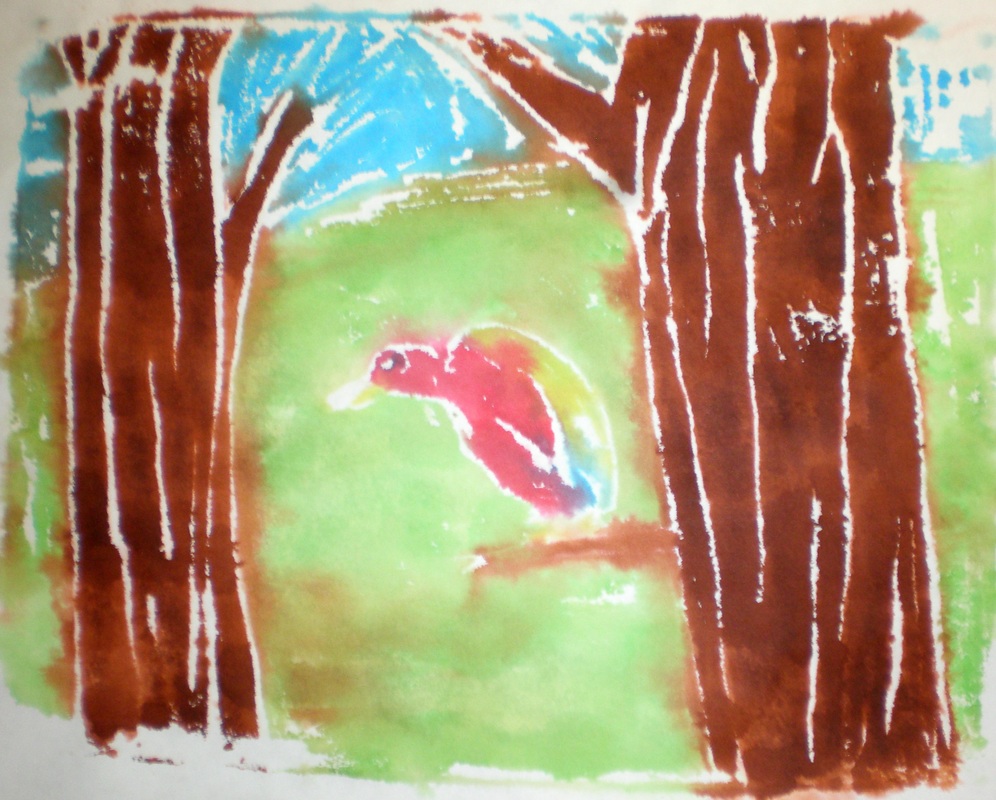
"In my room, students use art to think like a scientist, learn animal classification and forge connections with the core curriculum to spark learning. Students who might otherwise struggle are able to succeed using science and art in hands-on activities. My goal for my students is to help them develop a sense of discovery, learn the importance of animal habitats and ecosystems, and explore how each animal has a place in the food chain. Art becomes the vehicle for their experimentation and creativity." To read more and donate, click on the link below. http://www.donorschoose.org/project/habits-and-habitats-help-us-classify-e/1912315  Bring in a lunch bag with your name on it full of "stuff" to finish the details of your Rainforest animal. Look around your home. Do you have zip ties you could use for whiskers? Toothpicks for porcupine quills? Something for teeth? Bottle caps or shells for eyes or ears? A wine cork for a nose? Colorful feathers to add to your Macaw? Tell your family what animal you are making and kick around ideas with them. Then go on an in-home scavenger hunt for things. Look through the "junk drawer" to see what you can find. Once we have finished painting your animal we will hot glue on the final details to complete it. Please bring this stuff with you to art on March 14 or 15th. NOTE: We could use small size multi-temp hot glue sticks for our low temp hot glue guns! We will share what you don't use with the rest of the class. Thanks. 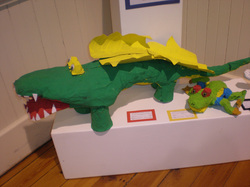 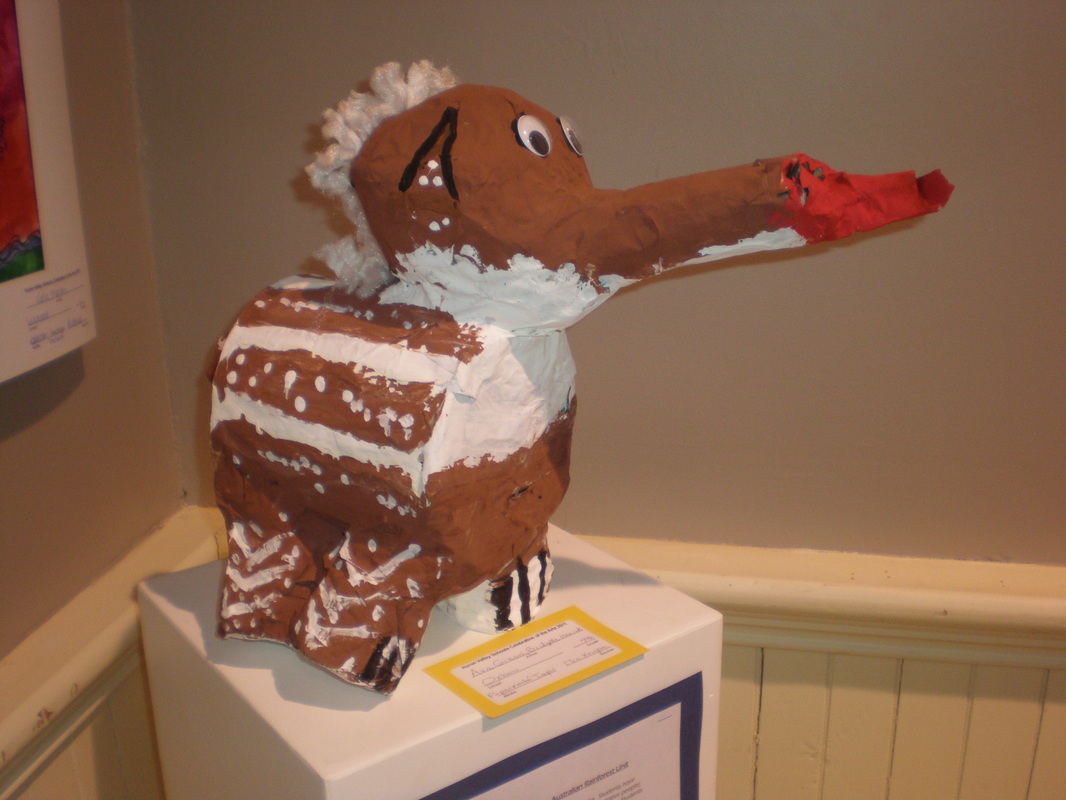 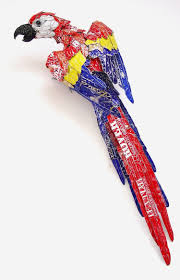 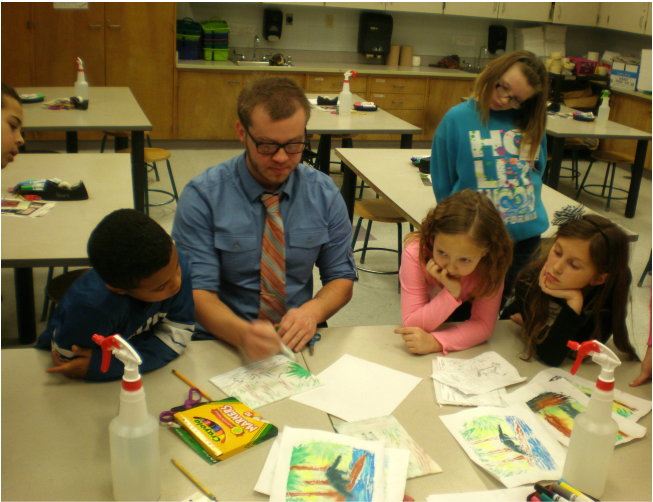 Our student teacher, Austin Fabinski, came up with an exciting lesson for relief printing. Third grade students chose a Rainforest animal and drew it in its habitat (home) including leaves, trees, flowers. Students practiced making four different versions, then drew the final scene onto their styrofoam plate using a dull pencil. If the lines weren't etched deeply into the sytrofoam, they went over it pressing a bit harder. Next they added colored marker onto the plate making sure to color it thoroughly. Then they sprayed the paper with water and printed their plate several times until they perfected the technique. This would be an excellent lesson for home - you can use a styrofoam plate or clean styrofoam meat tray, a set of markers, and a damp sponge. Enjoy! |
Archives
March 2024
AuthorMy name is Mrs. Krupa and I'm an elementary art teacher at Oxbow Elementary. I'm a professional harpist turned art teacher of 20 years. I'll share art lessons and ideas on these pages, what works and doesn't. Enjoy! Categories
All
|

 RSS Feed
